Diy Powder Coating Oven Kit caters to the demand from DIY enthusiasts, small workshop owners, and hobbyists who want to cure powder-coated items at home without buying expensive commercial ovens. These kits meet needs for projects like automotive parts or furniture refinishing, with prices ranging from $150 for basic tabletop kits to $500 for large, heavy-duty models—making home-based powder coating curing accessible across budgets.

Diy Powder Coating Oven Kit supports a variety of small-to-medium curing projects. Diy Powder Coating Oven Kit is perfect for automotive hobbyists curing powder-coated rims, valve covers, or bumper brackets—its adjustable size fits most small-to-midsize auto parts. Diy Powder Coating Oven Kit works for refinishing outdoor furniture, like metal patio chairs or garden tool handles, ensuring the powder bonds tightly to resist weather damage. Diy Powder Coating Oven Kit also suits crafters curing custom metal decor, such as wall art or jewelry components, and small workshops curing batches of hardware (like bolts or brackets) for local clients. Even vintage tool restorers use Diy Powder Coating Oven Kit to cure powder on old wrenches or pliers, extending the tools’ lifespan with durable finishes.
Diy Powder Coating Oven Kit integrates into the final step of the powder coating process—curing—after surface prep and powder application.
Diy Powder Coating Oven Kit relies on precise temperature control to melt powder particles into a smooth, hard finish. Before using the kit, users complete surface treatment: clean metal with degreaser, sand away rust/paint, and dry thoroughly—steps that ensure powder adheres before curing. Diy Powder Coating Oven Kit’s heating elements distribute heat evenly (350–450°F, the standard range for most powders) to avoid hot spots that cause bubbling or uneven curing. Some advanced
Diy Powder Coating Oven Kit options include built-in thermometers to monitor internal temperature, ensuring consistency even for heat-sensitive powders (like metallic or matte formulas).
Diy Powder Coating Oven Kit is a pre-packaged set of components that users assemble to create a functional oven for curing powder coatings. Unlike pre-built commercial powder coating ovens, Diy Powder Coating Oven Kit is designed for easy assembly—no professional welding or electrical skills required. Diy Powder Coating Oven Kit typically includes insulation materials, heating elements, a temperature controller, assembly hardware, and step-by-step instructions. Diy Powder Coating Oven Kit is customizable: users can adjust the oven’s internal size (by cutting insulation or extending frames) to fit specific projects, from tiny jewelry to large auto parts—something fixed-size commercial ovens can’t match.
Diy Powder Coating Oven Kit Heating Elements: These are nichrome wire coils (1000–2000 watts, depending on kit size) that generate the heat needed for curing. Diy Powder Coating Oven Kit’s heating elements are pre-cut to fit standard frame sizes and include mounting brackets—they’re spaced evenly to ensure uniform heat distribution, critical for avoiding powder flaws.
Diy Powder Coating Oven Kit Temperature Controller: A digital or manual dial that lets users set and maintain curing temperatures (300–500°F). Diy Powder Coating Oven Kit’s controller includes a timer for tracking curing duration (10–30 minutes, based on powder type) and often has an auto-shutoff feature to prevent overheating.
Diy Powder Coating Oven Kit Insulation Materials: Usually high-density fiberglass or ceramic wool panels that line the oven’s interior. Diy Powder Coating Oven Kit’s insulation traps heat, reducing energy use and keeping the oven’s exterior cool to the touch—thicker insulation (1–2 inches) in premium kits maintains temperature more effectively for larger parts.
Diy Powder Coating Oven Kit offers clear benefits over commercial ovens and makeshift curing methods (like household ovens). Diy Powder Coating Oven Kit saves money: it costs 50–70% less than pre-built powder coating ovens, making it ideal for budget-conscious users.
Diy Powder Coating Oven Kit is customizable: users can modify internal size to fit odd-shaped parts (like curved bike frames) that won’t fit in standard ovens. Diy Powder Coating Oven Kit is space-efficient: basic models fold or disassemble for storage, while larger kits are designed to fit in garages or small workshops. Diy Powder Coating Oven Kit delivers consistent results: its dedicated heating elements and controllers avoid the temperature fluctuations of household ovens, which often ruin powder coats. Finally, Diy Powder Coating Oven Kit is beginner-friendly—instructions include diagrams and video links to guide assembly, even for first-time builders.
Choosing the right size Diy Powder Coating Oven Kit starts with measuring your largest frequent project. For small items (jewelry, small hardware), a tabletop Diy Powder Coating Oven Kit (interior size: 12x12x8 inches) works. For medium projects (auto valve covers, toolboxes), select a mid-size Diy Powder Coating Oven Kit (24x18x12 inches). For large items (rims, patio chair frames), opt for a full-size Diy Powder Coating Oven Kit (36x24x18 inches) or a expandable model that lets you add extra insulation panels. Check the kit’s maximum temperature—ensure it reaches 450°F (most powders require 350–400°F, so a 450°F max leaves room for variation). Also, consider storage: if space is limited, choose a Diy Powder Coating Oven Kit that disassembles, so you can store it when not in use. Read reviews to confirm the kit’s internal size matches advertised dimensions—some budget kits have smaller interiors than listed.
Assembling Diy Powder Coating Oven Kit takes 2–3 hours, with no special tools needed. Diy Powder Coating Oven Kit users first lay out all components: insulation panels, heating elements, controller, screws, and brackets. Start by building the frame (if included): connect metal or wood supports (per instructions) to create the oven’s skeleton—ensure corners are square to keep insulation panels aligned. Next, attach insulation panels to the frame: use the included adhesive or screws to secure panels, making sure there are no gaps (gaps cause heat loss). Mount the heating elements: attach brackets to the frame’s interior (follow spacing guidelines in Diy Powder Coating Oven Kit instructions) and clip elements into place—avoid touching elements with bare hands (oil causes hot spots). Wire the temperature controller to the elements: use the color-coded wires and diagram in Diy Powder Coating Oven Kit—most kits use simple plug-in connections, no soldering required. Finally, test the oven: plug it in, set to 350°F, and let it run for 10 minutes—check that temperature rises steadily and no smoke comes from elements. If everything works, your Diy Powder Coating Oven Kit is ready to use.
Calibrating temperature ensures Diy Powder Coating Oven Kit cures powder correctly—wrong temperatures cause peeling or bubbling. Diy Powder Coating Oven Kit users start by placing an oven thermometer (not the kit’s built-in one) in the center of the oven. Set the kit’s controller to 375°F (a common curing temp) and turn on the oven. Once the controller shows 375°F, wait 5 minutes, then check the thermometer. If the thermometer reads 5–10°F below the set temp, adjust the controller’s calibration dial (if available) to increase heat. If it reads too high, lower the calibration. For Diy Powder Coating Oven Kit without calibration dials, note the difference and adjust the set temp accordingly (e.g., if thermometer reads 365°F when set to 375°F, set the controller to 385°F for future use). Repeat this process at 400°F to confirm consistency—most powders require precise temps, so calibration ensures every project cures properly.
Maintaining Diy Powder Coating Oven Kit extends its lifespan to 5–7 years. Diy Powder Coating Oven Kit users should clean the interior after each use: wipe powder residue from insulation panels with a dry cloth—avoid water, as it damages insulation. Inspect heating elements every 10 uses: look for frayed wires or discoloration—replace elements if they show signs of wear (replacement parts are sold by most Diy Powder Coating Oven Kit brands). Check insulation for gaps or tears: if insulation is damaged, patch it with heat-resistant tape (included in some kits) or replace the panel—gaps reduce efficiency and cause temperature fluctuations. Clean the temperature controller’s display with a damp cloth to remove dust. Store Diy Powder Coating Oven Kit in a dry area: if it’s a disassemblable model, take it apart and store components in a sealed bin to prevent moisture damage to insulation.
Uneven heating is a common issue with Diy Powder Coating Oven Kit, but it’s fixable with simple checks. Diy Powder Coating Oven Kit users first verify heating element placement: if elements are too close to one side, rearrange them to match the kit’s spacing guidelines—even spacing ensures uniform heat. Check for insulation gaps: hold your hand near the oven’s exterior (when off) to feel for cold spots—gaps let heat escape, creating hot spots inside. Patch gaps with heat-resistant tape. If one area of the oven is always cold, test the elements: use a multimeter to check for continuity—elements with no continuity are faulty and need replacement. For large Diy Powder Coating Oven Kit models, add a small fan (rated for high temps) inside to circulate air—this distributes heat more evenly. Finally, avoid overloading the oven: placing too many parts inside blocks airflow, causing uneven curing—cure parts in batches if needed.
Different powder types (thermoplastic, thermoset, metallic) require slightly different curing with Diy Powder Coating Oven Kit. For thermoset powder (most common for auto parts/furniture), set Diy Powder Coating Oven Kit to 375°F and cure for 15–20 minutes—this activates the hardener in the powder. For thermoplastic powder (used for flexible parts like tool handles), set the kit to 350°F and cure for 10–12 minutes—higher temps cause brittleness. For metallic powder (shiny finishes), set Diy Powder Coating Oven Kit to 380°F and cure for 20 minutes—metallic flakes need extra time to settle evenly. Always check the powder manufacturer’s instructions for exact temps/times, then adjust your Diy Powder Coating Oven Kit accordingly. Place parts on a wire rack (not the oven floor) to let heat circulate around all sides—this ensures the powder cures evenly on all surfaces, even the bottom of the part.
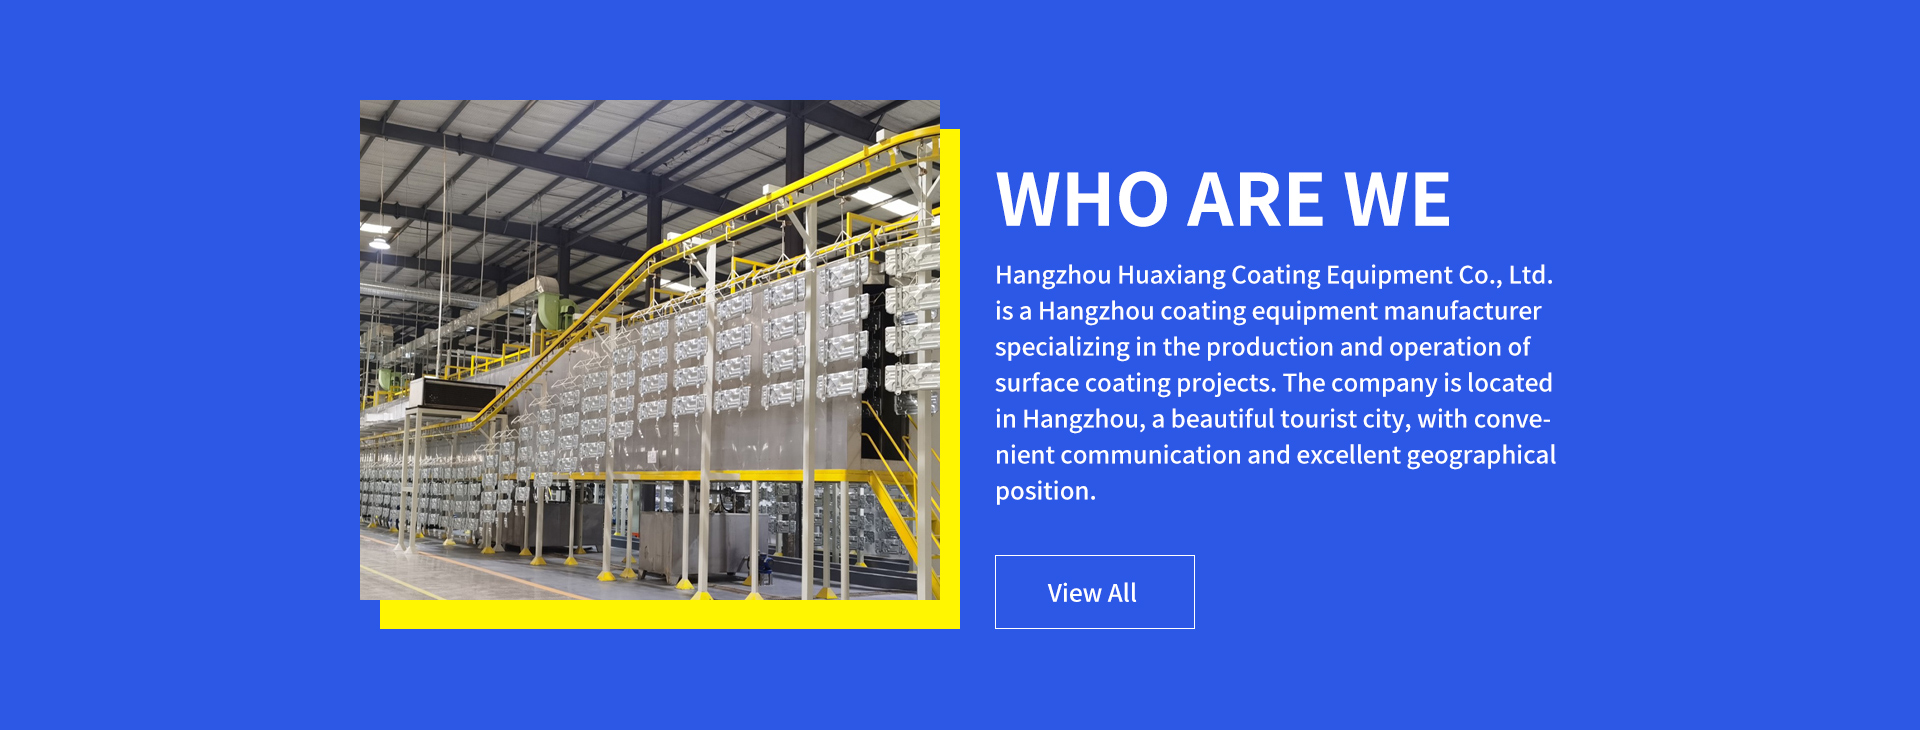
Statement: Hangzhou Huaxiang Coating Equipment Co., Ltd Chinese Powder Coating Equipment facturers provide you with customized equipment for various types of Powder Coating Lines, Powder Coating Ovens, Powder Coating Booths,Powder Coating Guns, etc. For inquiries! Contact us at
Email: gezx@cncolourspray.com
WhatsApp: +86 13335812068