The market for Powder Coating Gun Starter Kit continues to grow as DIY enthusiasts, small workshop owners, and hobbyists seek cost-effective ways to achieve durable, professional finishes. Demand spans projects like metal furniture restoration, automotive parts coating, and outdoor equipment protection. Prices for Powder Coating Gun Starter Kitrange from $150 to $500, with entry-level options suited for beginners and mid-range kits offering more features for frequent users. This guide breaks down everything needed to understand, use, and choose the right Powder Coating Gun Starter Kit.

A
Powder Coating Gun Starter Kit supports a wide range of coating projects, from small-scale DIY tasks to light commercial work. Common projects include refinishing metal bike frames, coating patio furniture to resist rust, restoring automotive rims for a fresh look, and protecting toolboxes from scratches and corrosion. These kits are designed to handle different materials like steel, aluminum, and even some heat-resistant plastics, making them versatile for both indoor and outdoor applications. Whether you’re touching up old metal items or creating custom finishes on new pieces, a
Powder Coating Gun Starter Kit provides the basic tools to turn amateur projects into professional-quality results.
Proper surface preparation is key to successful powder coating, and a
Powder Coating Gun Starter Kit often includes guidance on matching process tech to surface needs. First, surfaces must be cleaned to remove dirt, oil, and grease—mild detergents or degreasers work for this step. Next, rust or old paint is removed using sandblasting, sanding, or chemical stripping; many starter kits pair well with basic sanding tools for small projects. After cleaning, surfaces are dried completely to prevent powder adhesion issues. Some advanced
Powder Coating Gun Starter Kit options include pre-treatment wipes to enhance powder bonding. The final prep step involves ensuring surfaces are smooth and free of debris, as any imperfections will show through the powder finish. This process tech ensures the powder adheres evenly and cures properly for long-lasting results.
A
Powder Coating Gun Starter Kit is a bundled set of tools and materials designed to help users new to powder coating begin their projects without needing to purchase individual components separately. Unlike traditional liquid paint systems, powder coating uses dry powder that is electrostatically charged and sprayed onto surfaces, then cured with heat to form a hard, durable finish. A
Powder Coating Gun Starter Kit simplifies this process by including essential items tailored for beginners, balancing ease of use with functionality. It bridges the gap between professional-grade equipment (which is often expensive and complex) and basic tools, making powder coating accessible to DIYers, hobbyists, and small business owners who want quality results without the high cost of industrial setups.
Electrostatic Powder Coating Gun: The core component of the Powder Coating Gun Starter Kit, this gun charges the powder particles as they exit the nozzle. It typically has adjustable settings for voltage and powder flow, allowing users to control coating thickness and coverage. Most starter kit guns are lightweight and ergonomically designed for comfortable use, with either manual or semi-automatic operation to suit different project sizes.
Powder Supply System: This part of the Powder Coating Gun Starter Kit includes a powder hopper or container to hold the dry powder, plus a feed tube that connects to the gun. Entry-level kits often have small hoppers (1-2 pounds capacity) ideal for small projects, while mid-range kits may include larger hoppers for extended use. The system ensures a steady flow of powder to the gun, preventing clogs and ensuring even application.
Safety and Auxiliary Accessories: Every Powder Coating Gun Starter Kit includes basic safety items to protect users during operation. Common accessories include safety goggles to shield eyes from powder, disposable gloves to prevent skin contact, and a face mask to avoid inhaling powder particles. Some kits also add a small curing lamp or instructions for using household ovens (for small parts) to cure the powder, plus a few sample powder packets in popular colors to help users practice before starting their main projects.
A Powder Coating Gun Starter Kit offers several advantages over traditional painting methods and standalone powder coating tools. First, it provides cost savings—buying a kit is cheaper than purchasing a gun, hopper, safety gear, and powder separately. Second, it ensures compatibility: all components in a Powder Coating Gun Starter Kit are designed to work together, reducing the risk of tool malfunctions or poor finish quality. Third, it is user-friendly: starter kits include simple instructions tailored for beginners, with clear steps for setup, application, and curing. Fourth, the finish quality is superior—powder coating from a Powder Coating Gun Starter Kit resists chipping, fading, and rust better than liquid paint, making it ideal for high-wear items like tools or outdoor furniture. Finally, it is eco-friendly: powder coating produces less waste than liquid paint (no solvents) and unused powder can be reused, aligning with sustainable project practices.
Setting up a Powder Coating Gun Starter Kit for the first time involves simple steps to ensure safe and effective operation. First, unbox all components and verify you have the electrostatic gun, powder hopper, feed tube, safety gear, and any included powder or curing tools. Next, assemble the hopper: attach it to the gun using the provided feed tube, ensuring a tight seal to prevent powder leaks. Then, charge the gun (if battery-powered) or plug it into a power source—check the kit’s instructions for voltage requirements to avoid damage. Fill the hopper with the desired powder (start with a small amount for practice); tap the hopper gently to settle the powder and prevent clogs. Put on the safety goggles, mask, and gloves included in the Powder Coating Gun Starter Kit. Finally, test the gun on a scrap piece of metal: hold the gun 6-12 inches from the surface, pull the trigger, and move the gun in smooth, even strokes to check powder flow and coverage. Adjust the voltage or flow settings as needed—lower settings work for thin coats, while higher settings are better for thicker finishes. This setup process ensures you’re ready to start your project with minimal errors.
Choosing the right Powder Coating Gun Starter Kit depends on your typical project size, as kits vary in capacity and functionality. For small projects (e.g., coating a single bike frame, small metal brackets), look for a kit with a 1-pound powder hopper and a lightweight gun—these are compact, easy to store, and budget-friendly (usually $150-$250). For medium projects (e.g., refinishing a set of automotive rims, multiple patio chairs), opt for a Powder Coating Gun Starter Kit with a 2-3 pound hopper and adjustable flow settings. These kits often include a more durable gun and may add a curing guide for larger parts (e.g., using a heat gun for items too big for a household oven). For frequent or semi-commercial use (e.g., small workshop tasks), select a kit with a 3+ pound hopper, a semi-automatic gun, and additional accessories like extra powder filters or a cleaning brush. These kits cost $350-$500 but offer better performance and longevity. Also, check the kit’s recommended material compatibility—ensure it works with the metals you plan to coat (e.g., steel, aluminum). By matching the Powder Coating Gun Starter Kit to your project size, you avoid wasting money on unnecessary features or struggling with insufficient capacity.
Troubleshooting common issues with a Powder Coating Gun Starter Kit helps maintain smooth operation and quality finishes. One frequent problem is uneven powder coverage: this often happens if the gun is held too close or too far from the surface. Fix it by keeping the gun 6-12 inches from the material and moving in steady, overlapping strokes—refer to the kit’s instructions for optimal distance. Another issue is powder clogs in the gun or feed tube: clear clogs by disconnecting the feed tube, tapping it gently to remove stuck powder, and using the cleaning brush included in the Powder Coating Gun Starter Kit to wipe the nozzle. If the powder doesn’t adhere to the surface, check the gun’s voltage settings (low voltage means less charge for powder) or the surface preparation (oily or damp surfaces prevent adhesion)—reclean and dry the surface, then increase the voltage slightly. Curing issues (e.g., soft or tacky finish) occur if the part isn’t heated enough: use a thermometer to ensure the curing temperature matches the powder’s requirements (most kits include powder-specific curing guides). For battery-powered guns, weak powder flow may mean a dead battery—charge the battery fully before use, as specified in the Powder Coating Gun Starter Kit manual. Addressing these issues quickly keeps your project on track and ensures professional results.
Cleaning and maintaining a Powder Coating Gun Starter Kit is essential to extend its lifespan and keep it working effectively. After each use, start by emptying any remaining powder from the hopper—store unused powder in an airtight container to prevent moisture absorption. Disconnect the feed tube from the gun and hopper, then use the cleaning brush included in the Powder Coating Gun Starter Kit to remove powder residue from the tube’s interior. Wipe the gun’s exterior with a dry cloth (avoid water, as it can damage electrical components) and clean the nozzle with a small brush to remove any stuck powder. For the hopper, wash it with warm, soapy water (only if the kit’s instructions allow—some hoppers are not waterproof) and dry it completely before storing. Check the gun’s electrical connections (or battery contacts) for dirt and wipe them with a dry cloth to ensure good conductivity. Store all components of the Powder Coating Gun Starter Kit in a cool, dry place—avoid extreme temperatures or humidity, which can damage the gun or powder. Perform a monthly check: inspect the feed tube for cracks, test the gun’s voltage settings, and replace any worn parts (e.g., nozzle tips) as needed. Regular maintenance ensures your Powder Coating Gun Starter Kit remains reliable for years.
Achieving a smooth, professional finish with a Powder Coating Gun Starter Kit requires attention to prep, application, and curing steps. First, focus on surface preparation: sand the surface to a smooth finish (220-grit sandpaper works well), then clean it with a degreaser and dry thoroughly—any bumps or oil will show through the powder. Next, select the right powder: use high-quality powder (many Powder Coating Gun Starter Kit include sample packets, but for best results, choose powder suited to your material, e.g., heat-resistant powder for automotive parts). When applying the powder, hold the gun at a consistent 6-12 inch distance from the surface and move in slow, horizontal strokes. Apply a thin first coat—this helps the powder adhere evenly—then let it sit for 2-3 minutes before applying a second coat (thicker coats can cause drips). Use the gun’s adjustable flow settings: lower flow for thin coats, higher flow for thicker ones, but avoid overapplying. For curing, follow the powder’s instructions: small parts can go in a household oven (200-400°F, depending on the powder) for 15-30 minutes, while larger parts may need a heat gun (move the gun evenly to avoid hot spots). Let the part cool completely before handling—this allows the powder to harden fully. By following these steps with your Powder Coating Gun Starter Kit, you’ll get a finish that rivals professional work, with no drips, bubbles, or unevenness.
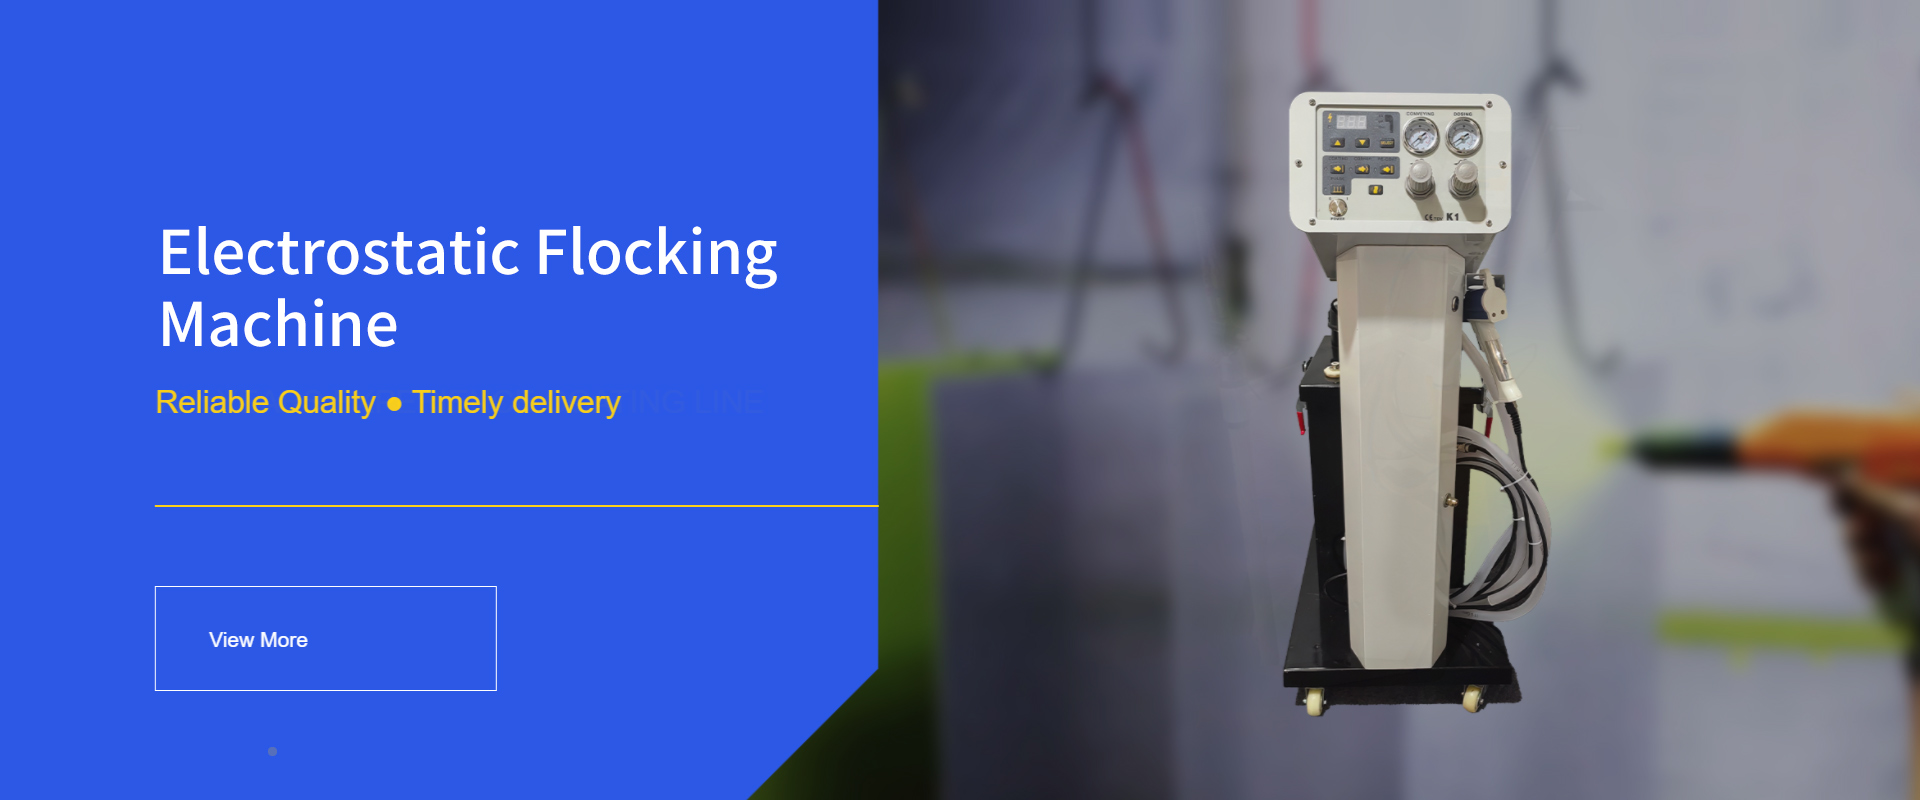
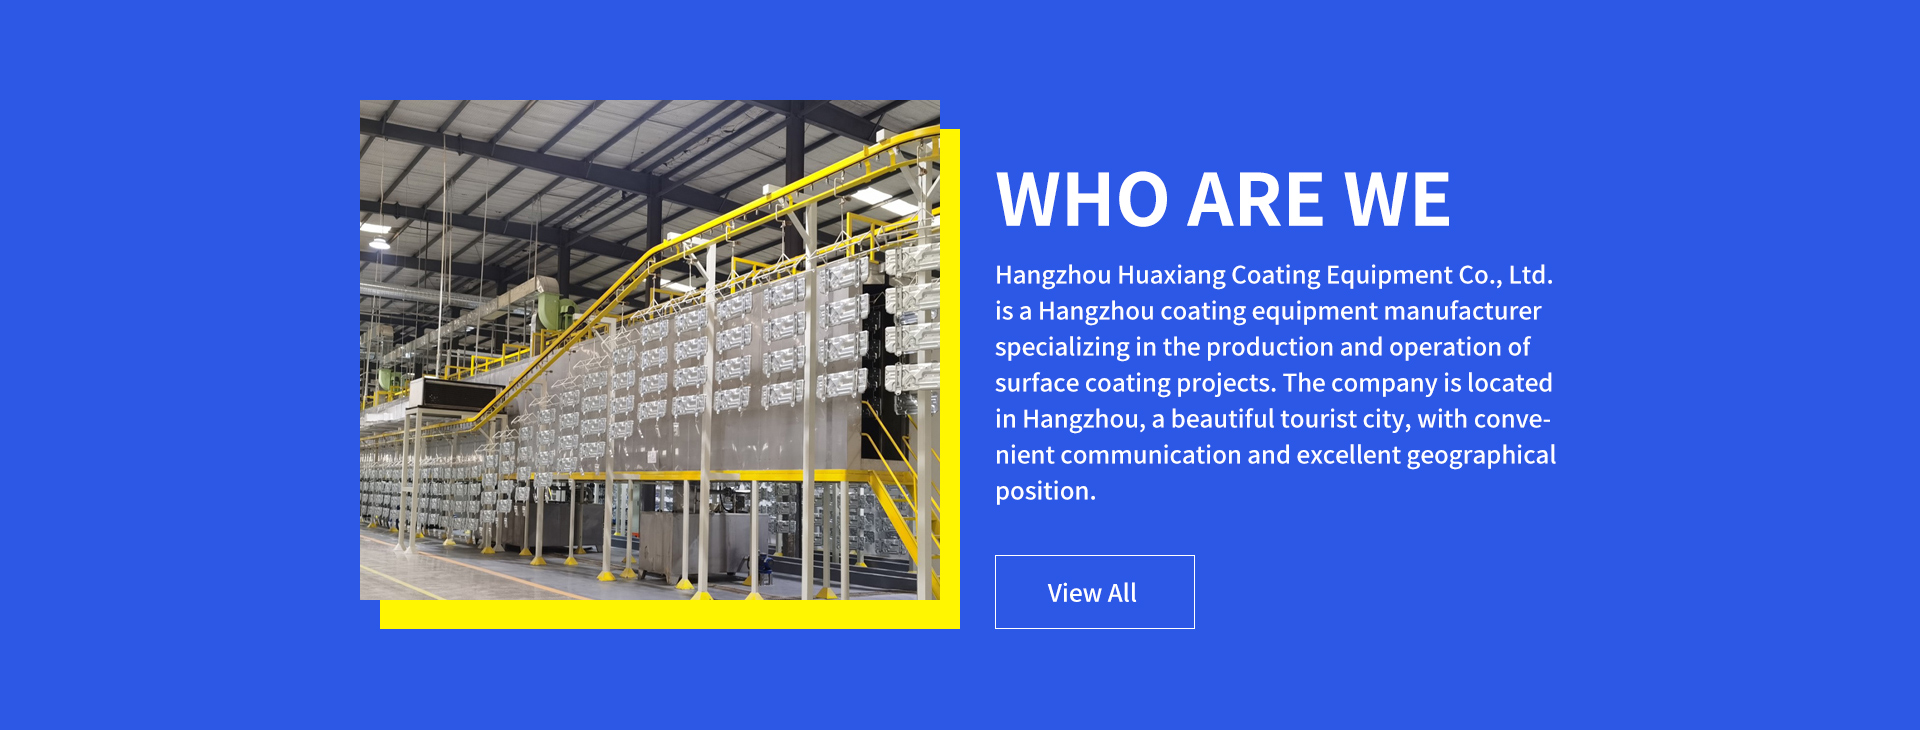
Statement: Hangzhou Huaxiang Coating Equipment Co., Ltd Chinese Powder Coating Equipment facturers provide you with customized equipment for various types of Powder Coating Lines, Powder Coating Ovens, Powder Coating Booths,Powder Coating Guns, etc. For inquiries! Contact us at
Email: gezx@cncolourspray.com
WhatsApp: +86 13335812068